How to install Whonix Gateway on VirtualBox – under win 7
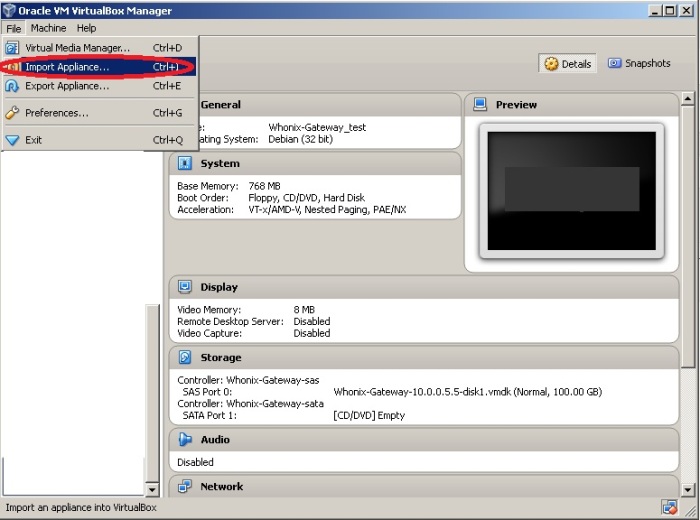
1.) open the virtualbox program
click File > Import Appliance..
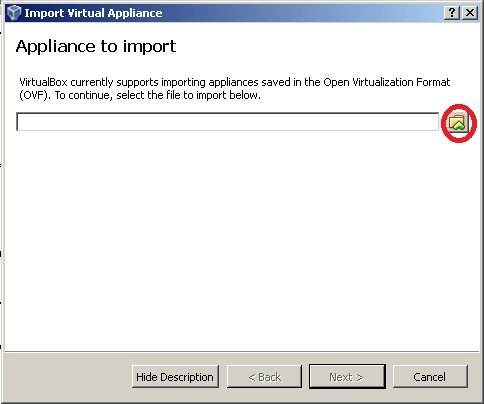
click the browse button and locate your downloaded whonix gateway file
then click Next
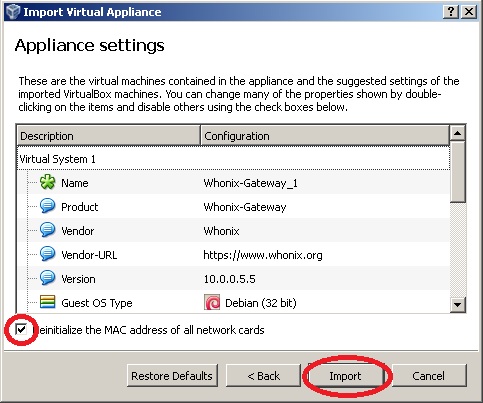
2.) tick the “Reinitialize the MAC address of all network cards”
click import
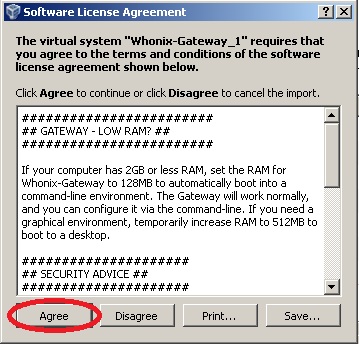
3.) click Agree to proceed
4.) importing process will begin. just wait until finish
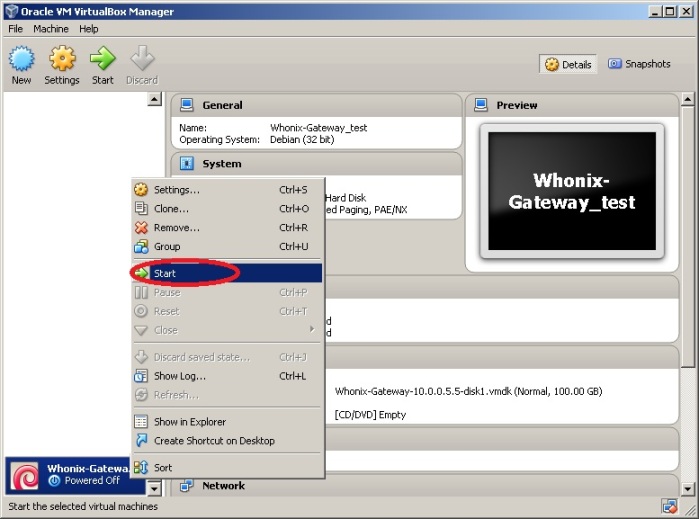
5.) after finished importing, connect your Host computer to internet or VPN first, then right click the VM > Start
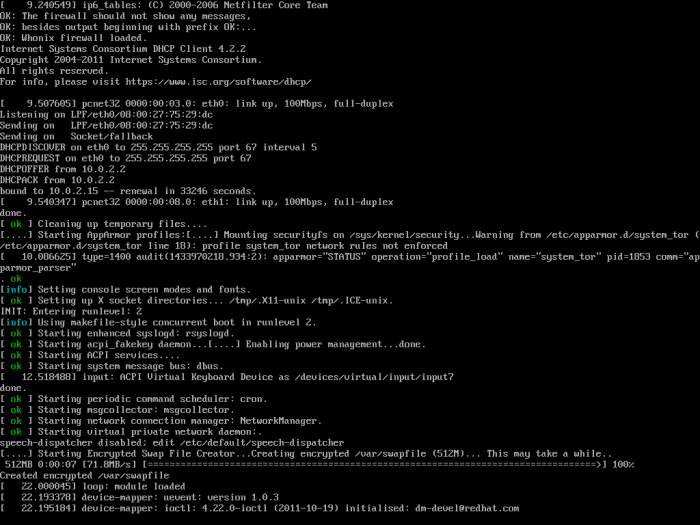
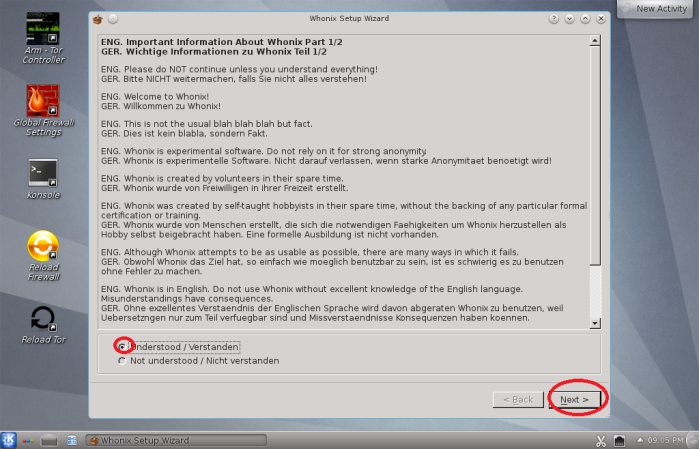
6.) whonix gateway will start, just wait until it finish loading
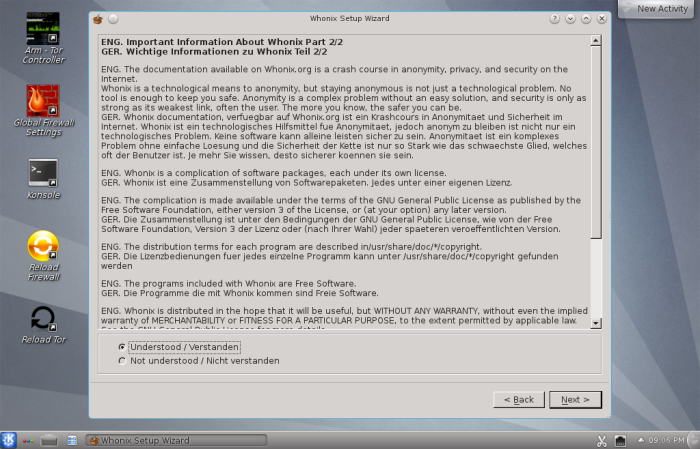
choose Understood again > Next
in this guide, it is assumed you are on home internet connection or connected to VPN. Tor should be able to connect directly without problem
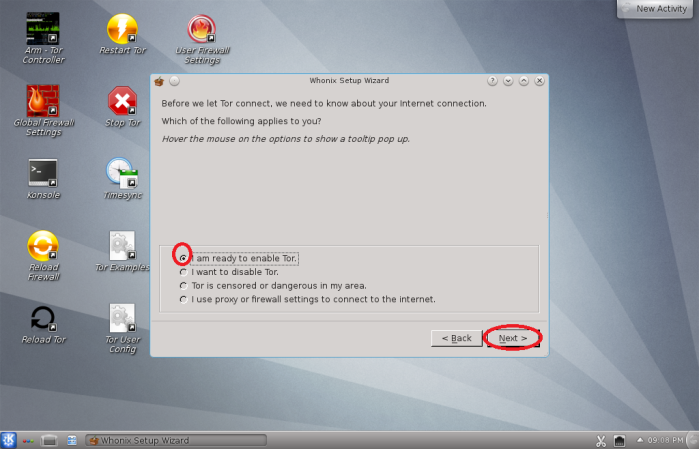
choose the “I am ready to enable Tor” > Next
*if you are installing whonix from internal company network or behind firewall you have to choose “Tor is censored or dangerous in my area” or “I use proxy or firewall settings to connect to the internet” however further instruction will not provided at this time, this guide only for setting up from home internet connection or able to connect to Tor directly without problem
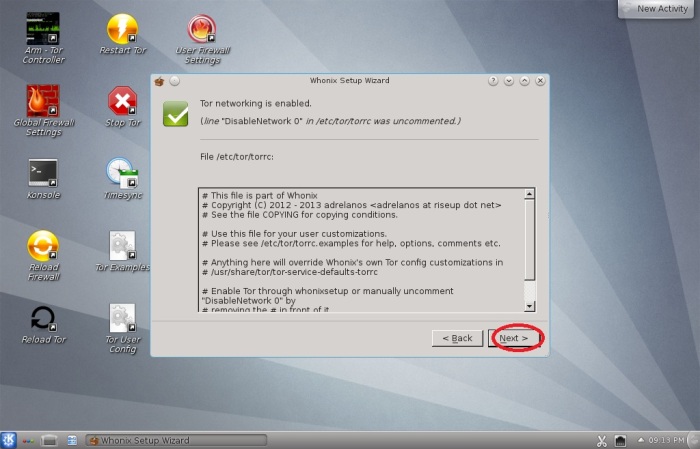
7.) click next again
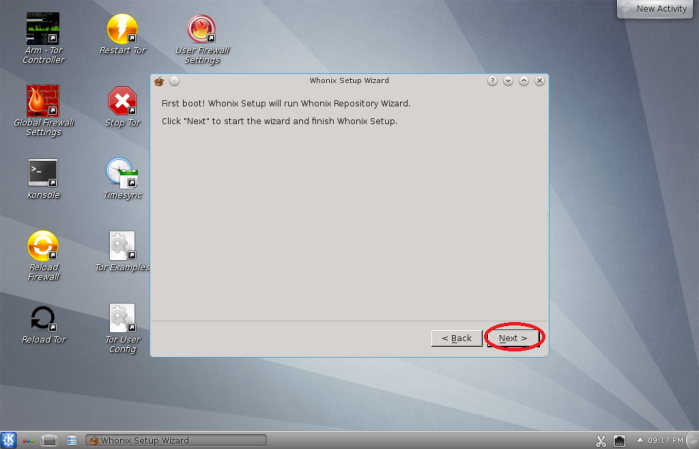
8.) click Next again
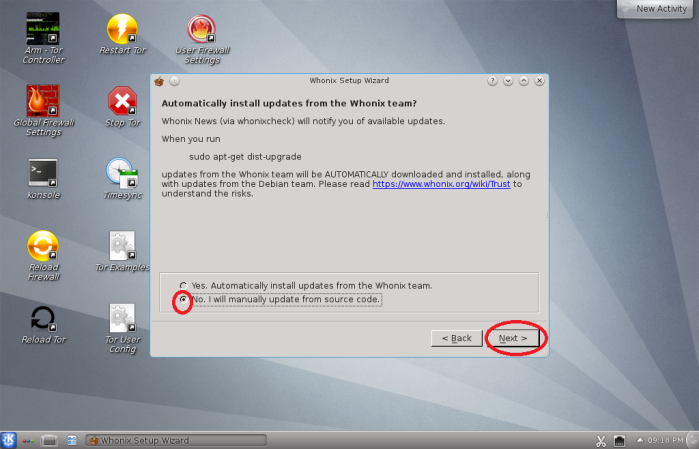
9.) in this guide, we temporary disable automatic updates. later i will teach you how to update manually
choose “No, I will manually update from source code”
Click Next
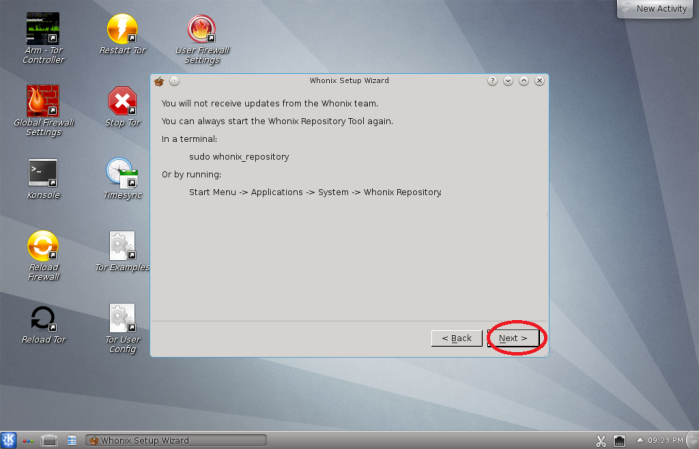
10.) click Next again
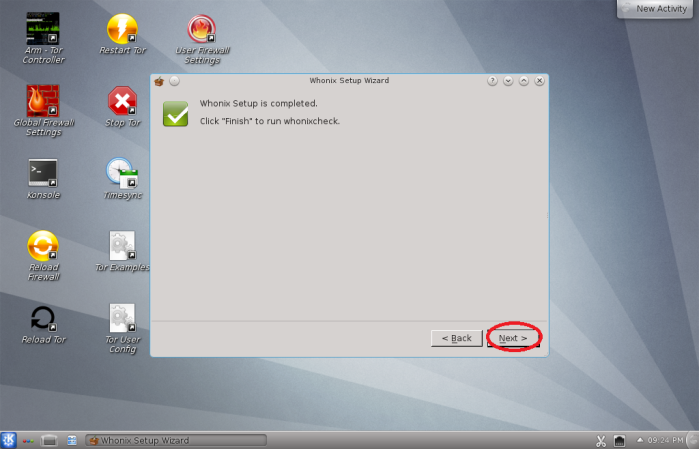
11.) click Next again
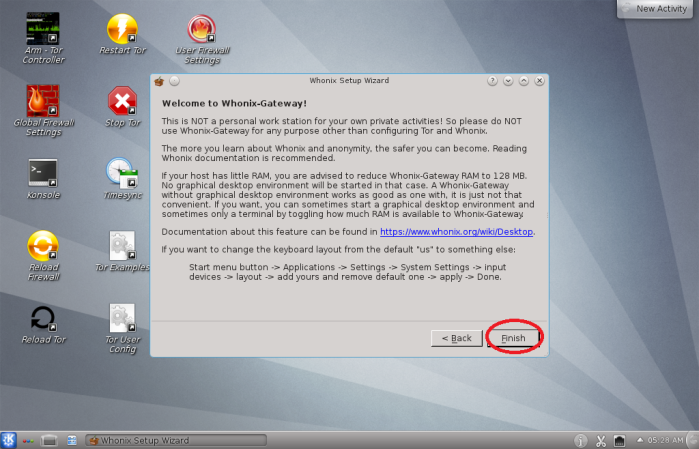
12.) click Finish
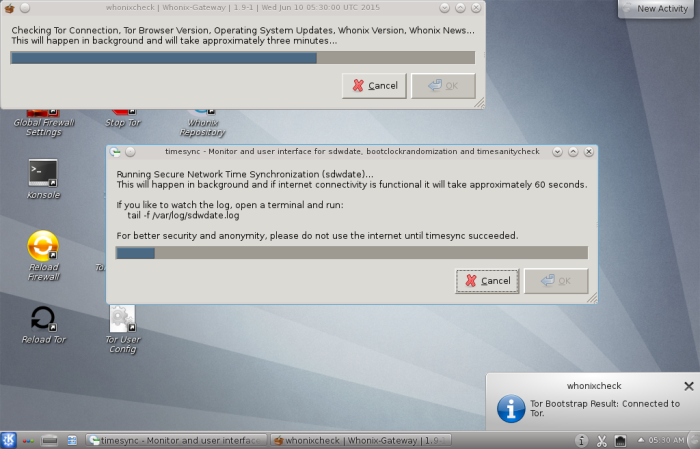
this will auto-run..just wait until finish
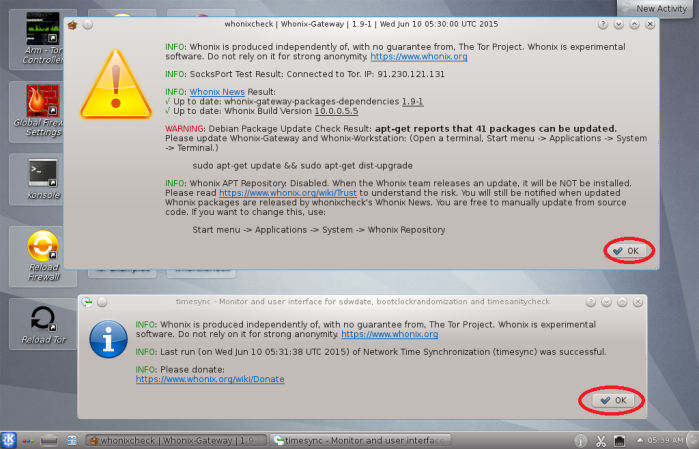
you will get message like this, click OK for both windows
13.) on the desktop, double click Konsole
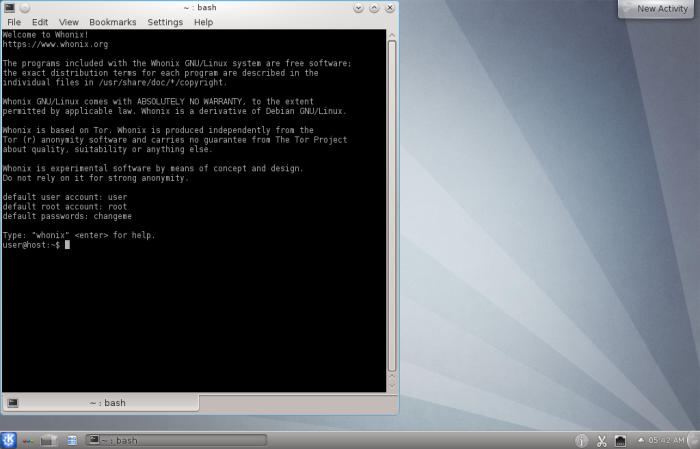
this will appear
the blackbox also known as “Terminal”, so in the terminal type this command (without the quote)
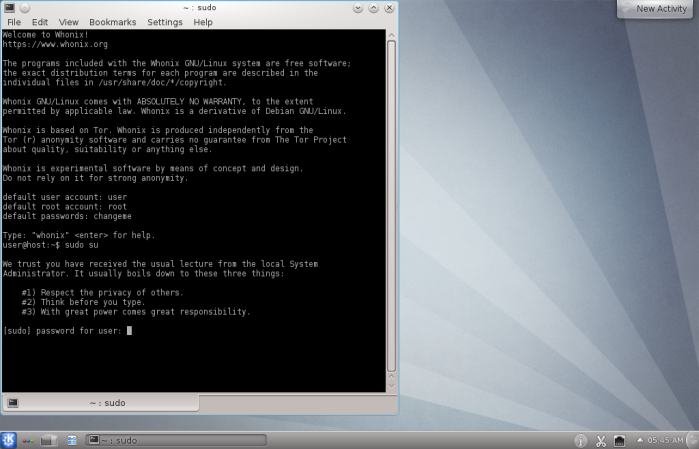
“sudo su”
and press Enter
default password is “changeme”
so type in “changeme” and press enter
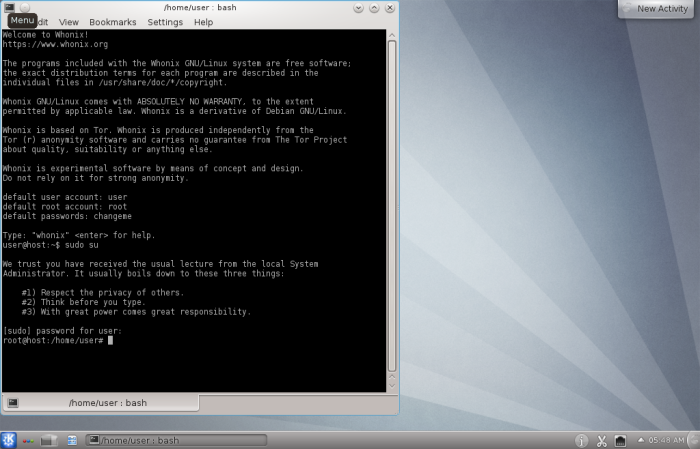
it should display this “root@host:/home/user#”
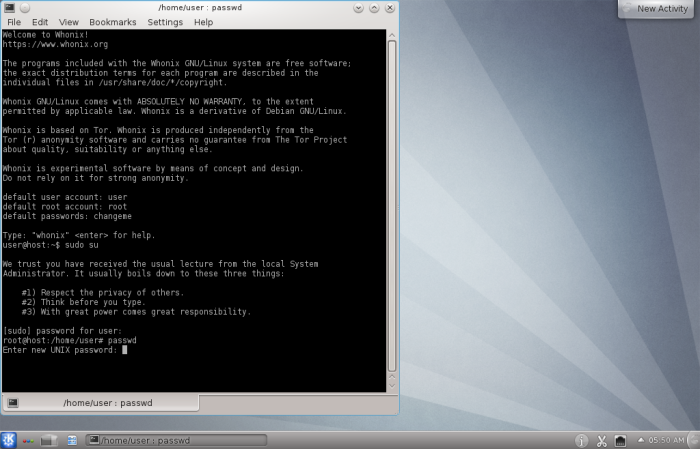
Now we have to change password for root first, type this “passwd” and press enter
make sure you enter a complicated password with special character combination. write it down somewhere on paper, for eg: whonix gateway root password : whateverpassword**777
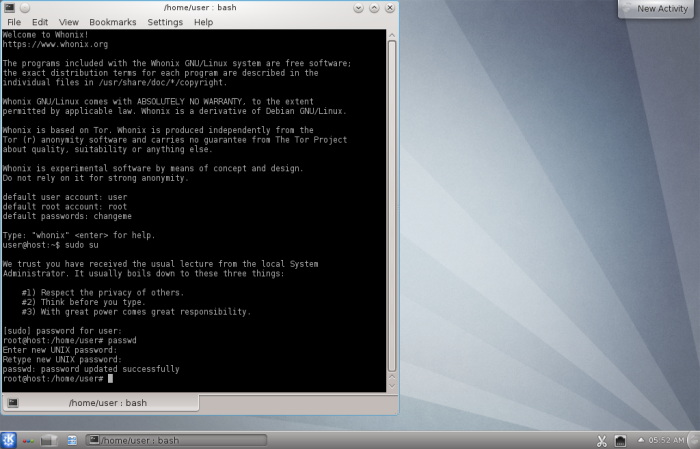
reconfirm password then it will say password updated successfully
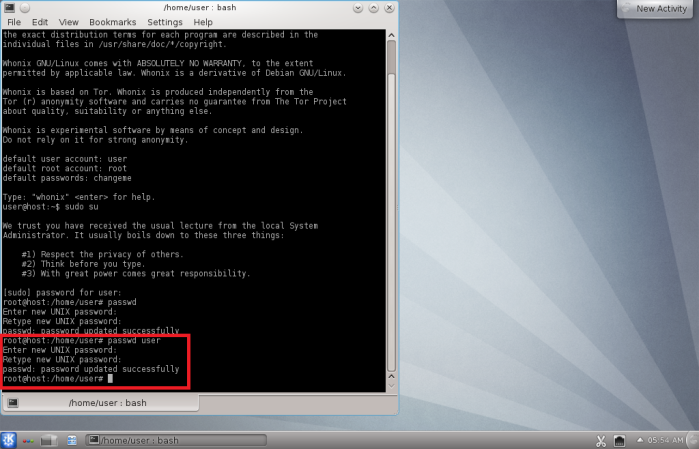
now we have to change password for user as well, type “passwd user” and press enter
make sure you enter a complicated password with special character combination. write it down somewhere on paper, for eg: whonix gateway user password : whateverpassword**123
reconfirm password then it will say password updated successfully
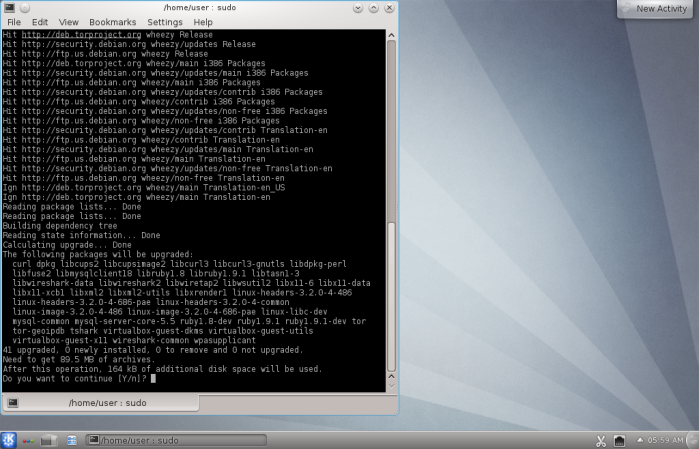
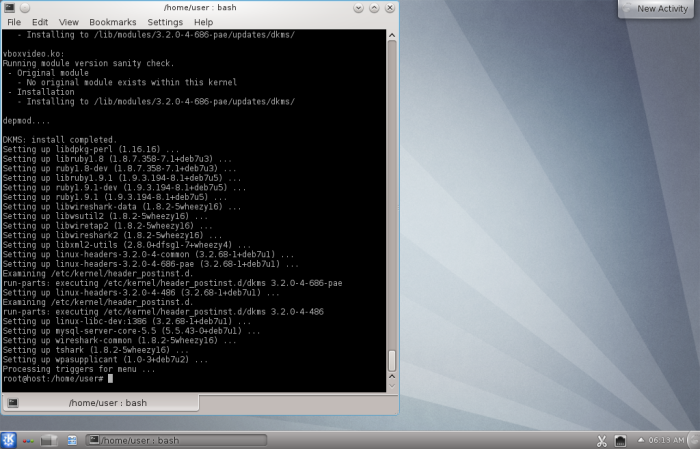
14.) now we have to update the whonix gateway, type this command for update manually “sudo apt-get update && sudo apt-get dist-upgrade” and press enter
it will run..just wait. and type in capital “Y” for yes and press enter
it will download the updates and install, just wait until finish
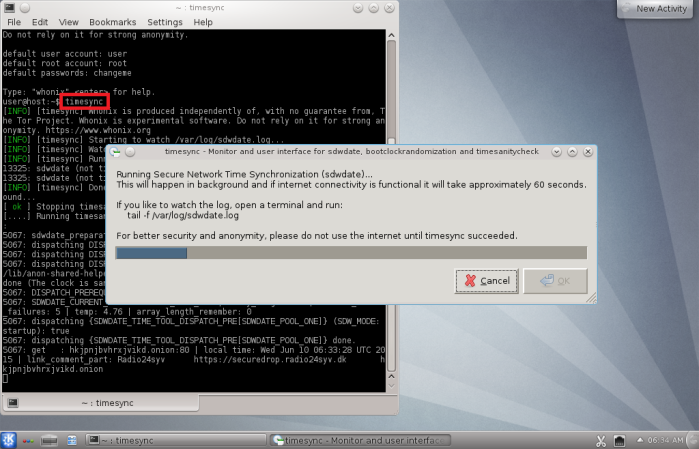
you should run this command as well “timesync”. it synchronize time system and improves security
type “timesync” and press enter. wait until finish updating
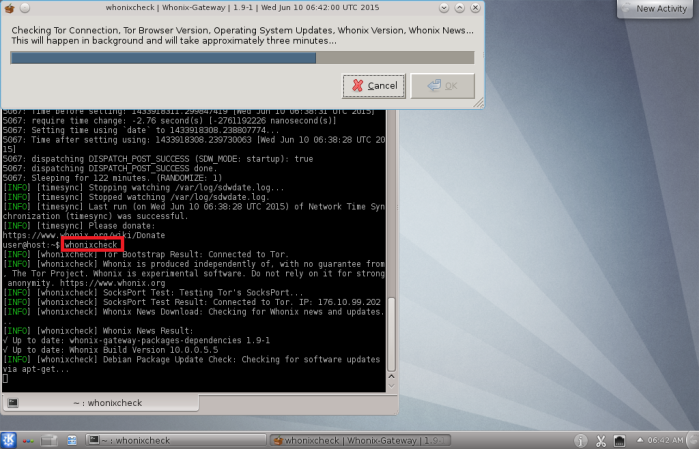
and also this “whonixcheck” command. check news and updates about whonix
type “whonixcheck” and press enter. wait until finish updating
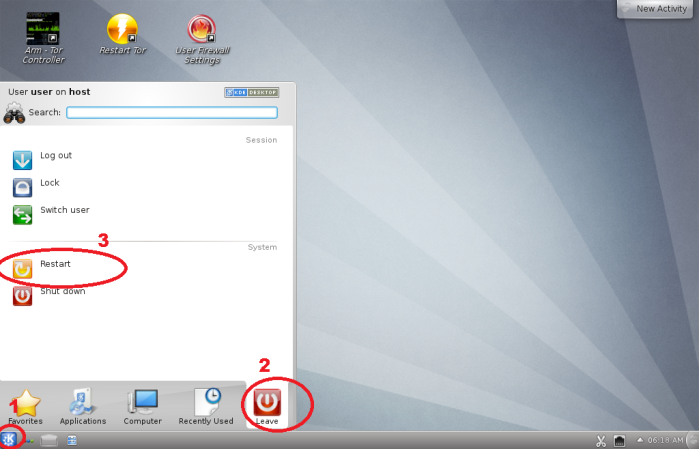
then close the terminal and restart the whonix gateway
15.) repeat again for steps number 14, check all the updates once again, run thru the same command
then your whonix gateway should be updated and ready to use
16.) sometimes you will get error or unable to check update when running “timesync” command because you could be connected to bad tor ip.
to restart tor, you can use this command “sudo service tor restart” then re-run “timesync” command again, if still unable to update
restart the whole system should do the job, then update once again.
*remember, whonix gateway is not for your personal browsing or surfing use. it is meant to provide connection thru tor. refer another tutorial how to install another vm and then setup the connection thru whonix.
